


Methods and steps for changing soil and pots for plants
If you want your flowers to always look lively, you should change their pots from time to time. Do you know how to repot? Do you know when is the best time to do it? We often wait until our plants become cramped in their pots. In this section ofSelMagzwe will discuss the signs that indicate it’s time to repot your plant.
When should a plant be repotted?
1. When the plant appears larger than its pot and its height is not suitable for its container.
2. When roots are growing and coming out of the drainage holes.
3. When water remains on top of the soil and is not being absorbed by the plant.
4. When the soil dries out and starts to break down.
5. When it has been several years since you last repotted.
6. When leaves drop, even if the weather and light conditions are appropriate.
Sometimes you can also repot to make space for the plant, encourage flowering, or change your decor.

A guide to repotting indoor and garden plants
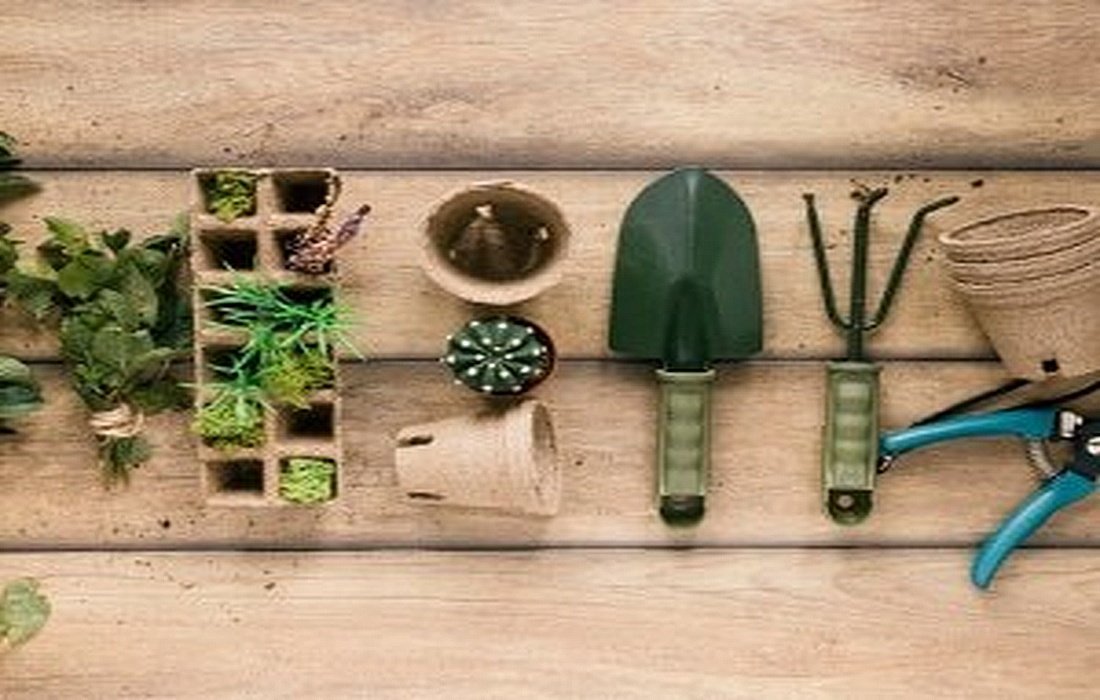
Necessary tools:
New pot:Your new pot must be larger and have drainage holes.
Porous material:You should use this material to cover the drainage holes in the new pot.
Small spade:This small spade is like a tiny shovel and can be used to remove the plant from its old pot.
Gloves:While this isn’t strictly necessary, wearing gloves can prevent dirt from getting under your nails.
Scissors and sharp knife:You may need to trim excessive roots, so having a sharp knife or scissors is important.
Watering can:This isn’t essential, but having a watering can makes it easier to water the plant while working.
How to repot
Step 1:
Pick up the larger pot. As mentioned, the main reason for repotting is lack of space, so be sure to use a wider pot.
Step 2:
Cover the bottom of the pot with porous material, such as coffeefilters.Step 3:
Put a layer of soil at the bottom of the new pot. Before placing the plant in, add a layer of soil. Fill it just enough that it doesn’t crowd the plant.
Step 4:
Water the plant. As we have emphasized before, be sure to water the plant well before transferring it to the new pot. This helps keep the plant healthy.
Step 5:
Remove the plant from the old pot. Instead of pulling it out, gently wiggle it from side to side until it loosens and comes out more easily. You can also use a knife to help detach it from the pot.
Step 6:
Prune old roots. Trimming old roots helps the plant thrive and bloom in its new pot. Cut away excessive roots and keep only the healthy ones.
Step 7:
Place the plant in the new pot. The plant should be centered and fit well in the pot. Add more soil if needed. At this point, you can water lightly to help settle the soil.