Ironing a Men’s ShirtProfessional Techniques for Ironing
Many people find ironing a men’s shirt to be a challenging task. However, if you follow the proper ironing techniques, it becomes quite easy. When asked which garments are difficult to iron, most housewives will mention men’s shirts. That’s why we have this section inSelMagzWe will provide you with a step-by-step guide for ironing men’s shirts.
Step 1:Start ironing with a clean shirt. Check the care label and follow the instructions provided. Pay attention to the water temperature you wash your clothes in, as shirts washed in very hot water can shrink the collar and cuffs, creating stubborn wrinkles. Look for any dirt on the cuffs, collar, or underarms, as ironing will set those stains.
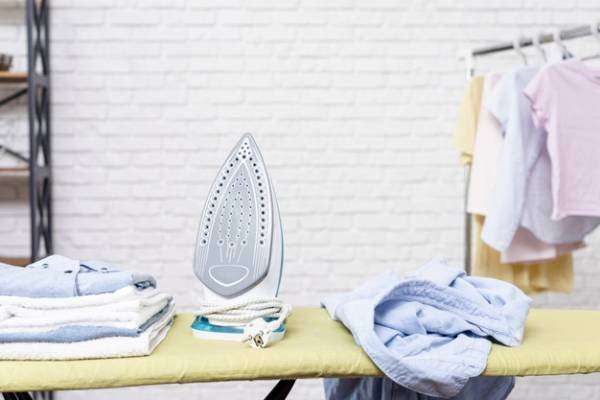
Step 2:Using a heavy iron, while it may be more expensive, makes a big difference in how quickly and easily you can iron. It’s definitely worth the investment, so save your money and get the best iron you can.
Step 3:Start with a damp shirt (not soaking wet). Choose one that has been air-dried for a short time or lightly misted all over with a spray bottle.
First, iron the top of the collar, paying attention to the corners. Pull the fabric tight if necessary (or if it has shrunk). Turn the shirt over and iron under the collar and the pleat beneath it.
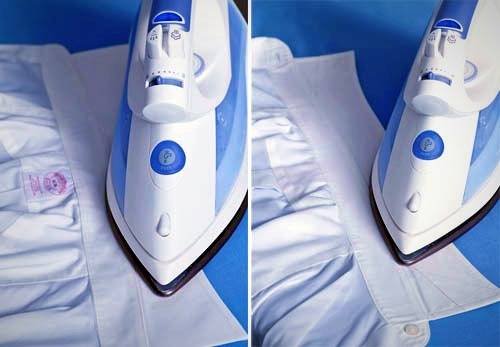
Next, iron the upper back of the shirt, known as the yoke. Most shirts have a center pleat beneath the yoke, but sometimes you will find a yoke with slits and wrinkles on either side.
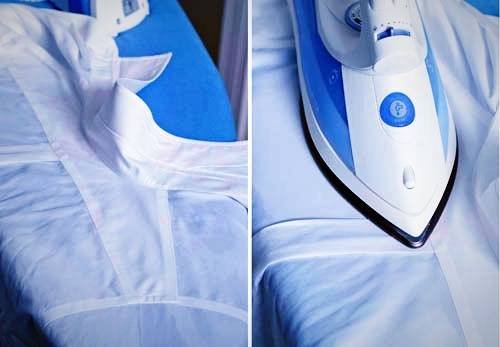
As we mentioned in SelMagz, after the yoke, iron the wrinkles on the back of the shirt. Lay the back of the shirt flat and iron from the yoke down.
Now it’s time to iron the sleeves and cuffs. Start with the outer part, then the inner part of the sleeves and cuffs. You should also iron any small pleats and details on the sleeves. Then lay the sleeve flat on the ironing board so the seams align properly.
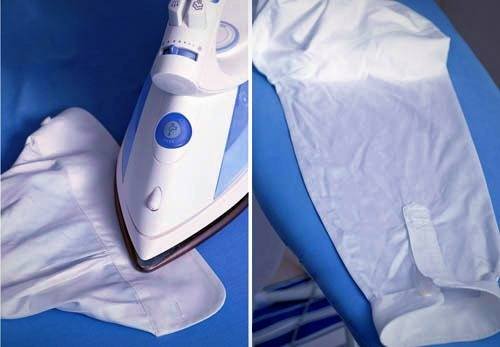
Step 4:If there are still wrinkles on the sleeves from the previous ironing, use them as a guide. Avoid creating double lines! Start at the top of the sleeve and work your way to the cuff. Pay attention to any pleats, and mist any stubborn wrinkles lightly with water.
Now it’s time to iron the front of the shirt, starting with the buttoned section. If your ironing board cover is soft, you can turn the shirt over and iron the back of the button placket. Otherwise, use the tip of the iron to iron between the buttons.
Be careful when ironing button areas. High-quality shirts have sturdy buttons that can withstand heat, but sometimes a button can break under high temperatures.
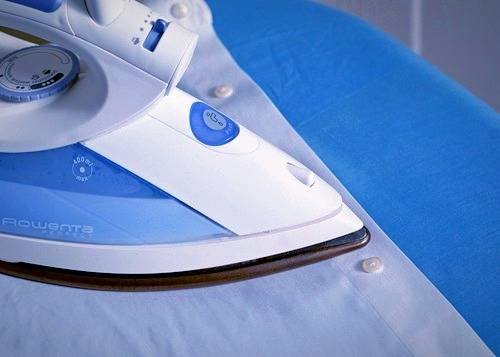
Then iron the armhole with the tip of the iron, and move on to the rest of the front sections.
Step 5:Remember that the goal of proper ironing is to maintain what you’ve just done. Gently drape the ironed section over the edge of the ironing board.
Step 6:Once the shirt is completely ironed, it needs to hang up because it may be slightly damp. Allow it to dry completely, then button the top button to help the collar maintain its shape.
By following these methods, ironing becomes quicker and easier, making your shirts look great. Wearing an ironed shirt gives you a much better appearance when going out.


